Migrating away from a Samba 4 based Active Directory Domain Controller

I want to move from a Samba based Domain Controller, to a Windows 2022 Domain Controller. Turns out, it’s not really a simple process! For starters, Samba’s Domain Level is that of a 2008 DC, so we can’t just connect it to win-2022.
Basically what we are going to do, is migrate all our data from: Samba -> Win 2008 -> Win 2012 -> Win 2022. I’m using Proxmox for virtualization, but the process should be similar for whatever hypervisor you use.
First, run the following command on the Samba DC, in case there are any db errors:
samba-tool dbcheck --cross-ncs --fix --yes
Getting Windows 2008 set-up⌗
First, let’s create a VM for Windows Server 2008 (iso evaluation download link.) All the defaults should be fine, asuming you selected Win2008.
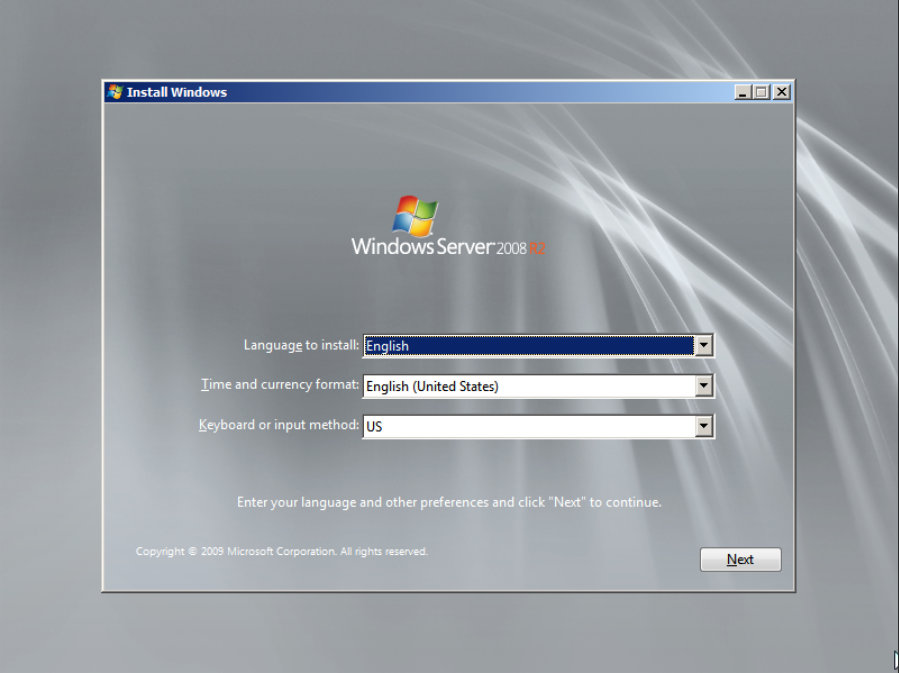
Standard (Full Version) should be fine, accept defaults otherwise. Once it’s rebooted twice, set your local Administrator password, and let it boot to the desktop.
The first thing I’ll do, but optional, is enable Remote Desktop. That way I can use the full resolution instead of the small resolution proxmox gives us.
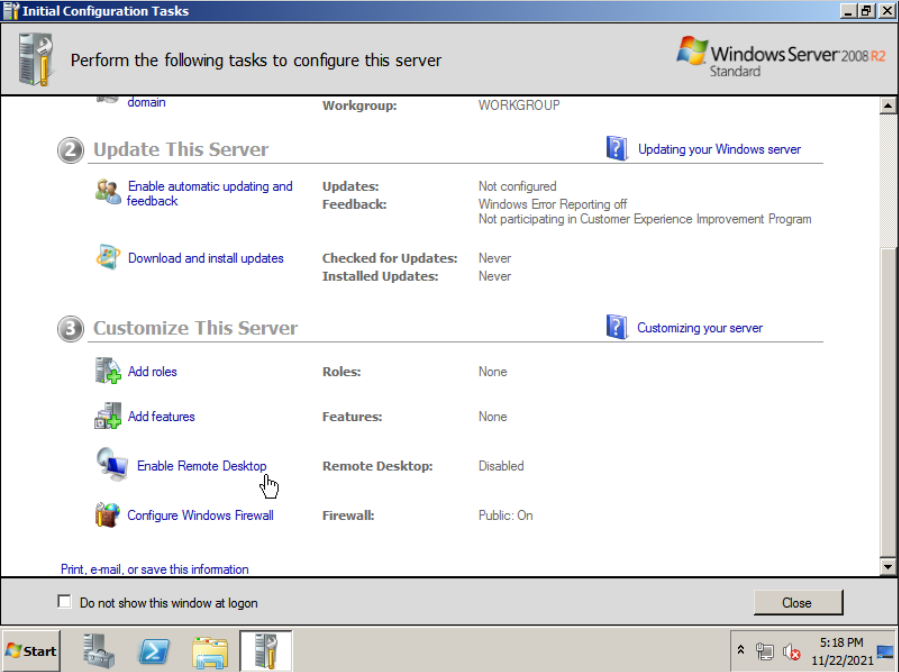
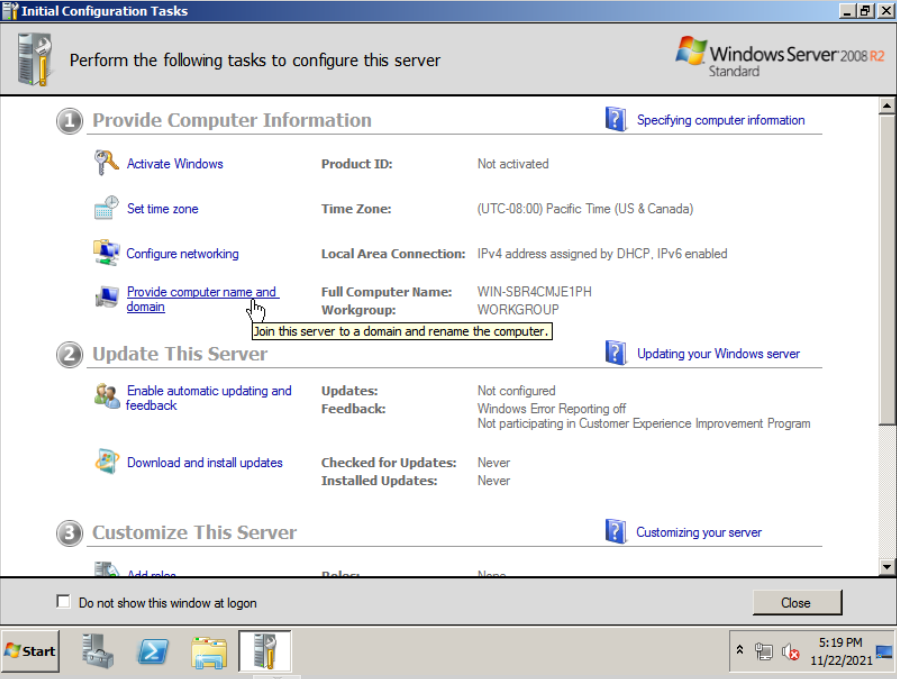
Next, give it a static ip, set the DNS server to that of the Samba DC, and give it a better hostname (eg. WIN-DC-2008), the latter of which requires a reboot. These can easily be accessed on the first steps of the Initial Configuration Tasks window that pops up.
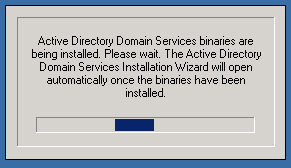
Now let’s install the Active Directory software. Hit Ctrl+R (or start menu -> Run…) and run the dcpromo program.
- Choose Advanced mode
- Existing forrest
- Specify the domain, as well as credentials with power to join the domain
- It should list the domain it found.
- After a few minutes, it should ask what options to enable on the DC, just accept the defaults
- Hit okay on the warning, and accept the next screens untill it asks for a password. Enter a strong password, and hit next twice.
- It should now start installing and begin replicating
- Hit finish, and let it reboot.


Next, make sure it is replicating, with no errors!
On Samba, you can check via samba-tool drs showrepl, and on Windows, repadmin /showrepl. Make sure both have no errors!


Next, we need to enable the Sysvol share, since when you use a Samba DC as a join partner, it just doesn’t get enabled since Samba doesn’t support the protocol to syncronise it.
Edit the following registry key, to 1: HKEY_LOCAL_MACHINE\SYSTEM\CurrentControlSet\Services\Netlogon\Parameters\SysvolReady.
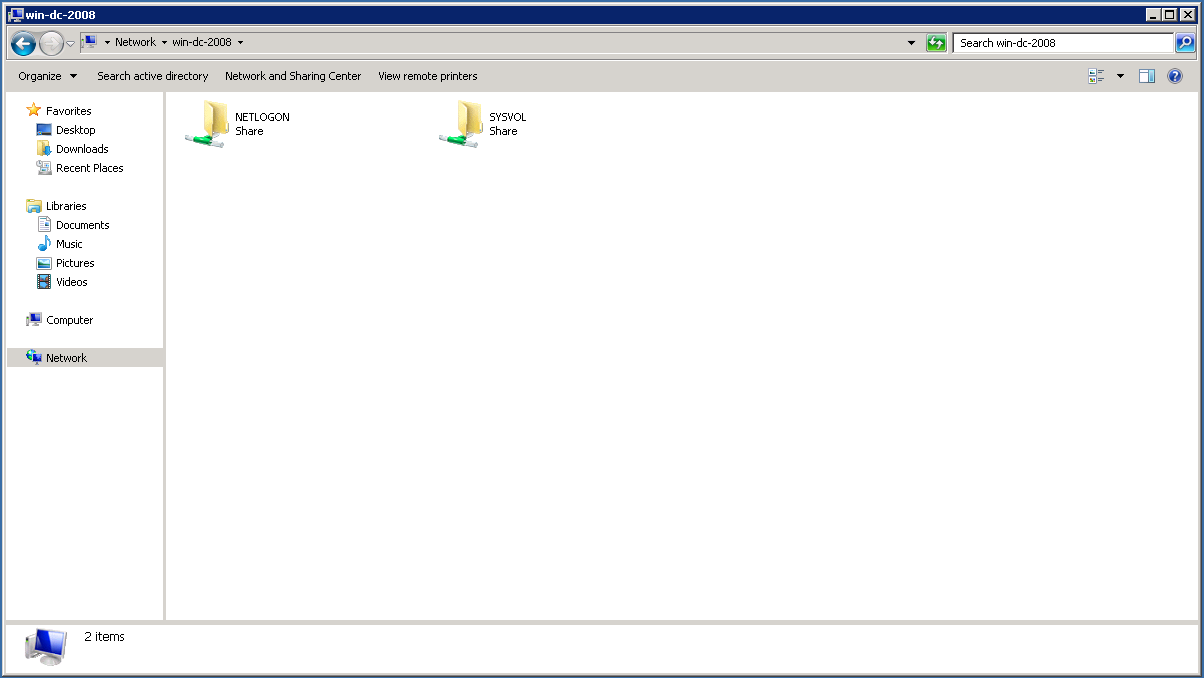
Reboot. Sysvol should now show up when you navigate in explorer to \\<your dns name here>.
Now, let’s manually replicate the Sysvol contents, using this command on the windows machine, replacing <samba dc dns> and <domain here> with the appropreate values.
C:\Windows\System32\Robocopy.exe \\<samba dc dns>\SYSVOL\<domain here>\ C:\Windows\SYSVOL\domain\ /mir /sec
note: thanks to reader “Miska Kunttu” for pointing out that the sysvol directory might not be the same on all machines. Make sure of your server’s path by checking the registry key HKEY_LOCAL_MACHINE\SYSTEM\CurrentControlSet\Services\Netlogon\Parameters\SysVol, and replace the C:\Windows\SYSVOL\domain\with the value from SysVol.


Now, to make sure Netlogon also appears, set the Registry item above back to 0, wait a few seconds, and back to 1. The Netlogon share should now appear next to the Sysvol share.
In the network adapter settings, reverse the DNS servers (ie. 127.0.0.1 should be first, and your Samba DC’s IP should be second.)
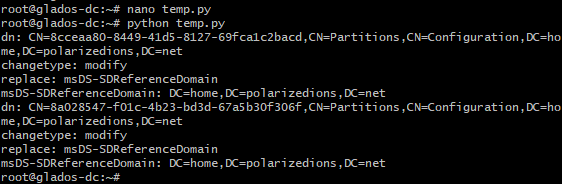
Log back into your Samba server, save this as temp.py and run it (credits: tranquil.it):
from samba.auth import system_session
from samba.credentials import Credentials
from samba.samdb import SamDB
import optparse
import samba.getopt as options

parser = optparse.OptionParser("/etc/samba/smb.conf")
sambaopts = options.SambaOptions(parser)

lp = sambaopts.get_loadparm()
domaine = sambaopts._lp.get('realm').lower()

creds = Credentials()
creds.guess(lp)

samdbloc = SamDB(session_info=system_session(),credentials=creds, lp=lp)
listdn = list(samdbloc.search(base='cn=partitions,' + str(samdbloc.get_config_basedn()), expression=('(|(dnsroot=ForestDnsZones.%s)(dnsroot=DomainDnsZones.%s))' % (domaine,domaine) )))

for dn in listdn:
    if not 'msDS-SDReferenceDomain' in dn :
        ldif_data = u"""dn: %s
changetype: modify
replace: msDS-SDReferenceDomain
msDS-SDReferenceDomain: %s""" % (dn['dn'],str(samdbloc.get_root_basedn()))
        print(ldif_data)
        samdbloc.modify_ldif(ldif_data)
I recommend making a backup of both the Linux Samba and Windows 2008 VMs at this point. If using proxmox, shutdown the windows VM before making a snapshot, to avoid corruption.
Transfering FSMO roles⌗
In Active Directory Domains and Trusts, right-click the root entry, and choose Change Active Directory Domain Controller, and pick the windows 2008 DC.
Next, right-click it again and choose Operations Master..., and click Change and Yes. Both fields should now point to the Windows 2008 server.
Do the same for Active Directory Users and Computers, except this time, Operations Masters... is on the FQDN. Notice also, there are three tabs that you need to click change on!
Next, in the Run Dialogue, execute regsvr32 schmmgmt.dll, search and open mmc in the start menu, go to File -> Add/Remove snap-ins. Choose Active Directory Schema, add it, and hit Ok. Then, do the same as above, connecting to Win2008 server, and transfering the Role. You can exit mmc.
As far as Windows is concerned, that is all the FSMO roles, but Samba cares about two more! You can see this by running samba-tool fsmo show:
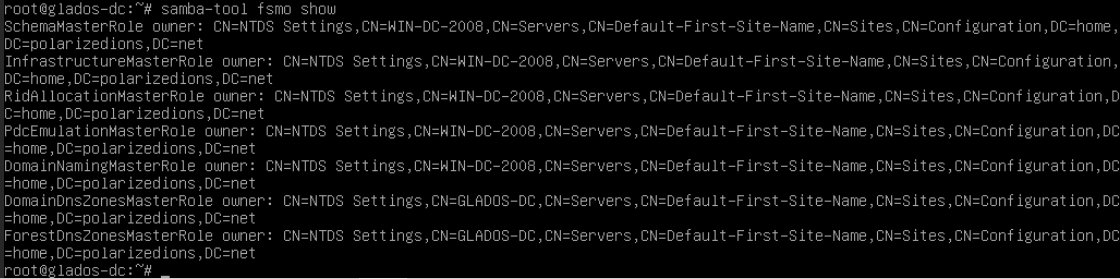
To transfer the DomainDnsZonesMasterRole and ForestDnsZonesMasterRole, we need to use ADSI Edit.
On the root of ADSI Edit, right-click and choose Connect to...
In the popup, the Connection Point should be DC=DomainDnsZones,DC=yourdomain,DC=tld, and the Computer should be the Samba Machine. Drill down the tree, until you see CN=Infrastructure on the right panel, and then open that. Search for the fSMORoleOwner key, and edit the ...CN=<samba name>,... to be the new windows 2008 name.


Repeat the steps, connecting to DC=ForestDnsZones,DC=yourdomain,DC=tld instead.
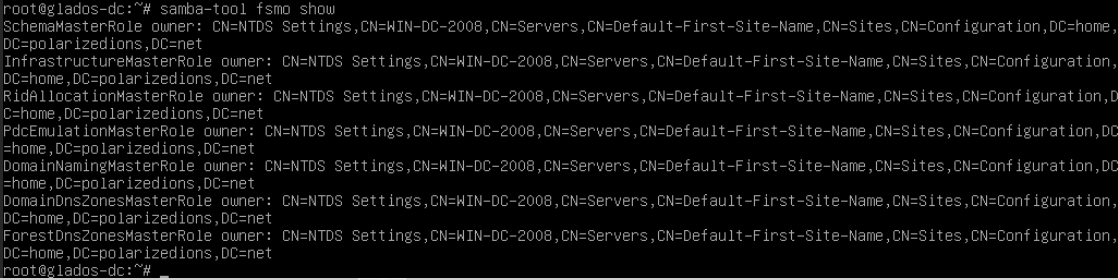
Re-running samba-tool fsmo show should now show all FSMO roles are transfered!
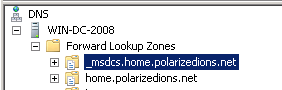
Something that also hindered things going forward: My _msdcs was seperate from the main domain zone in DNS, so I had to enable secure dynamic DNS updates.
Demoting Samba as a DC⌗
Before demoting the Samba DC, make sure that your own computer’s DNS doesn’t point to it, but rather win-2008.
Run the following command on Samba DC:
samba-tool domain demote -UAdministrator

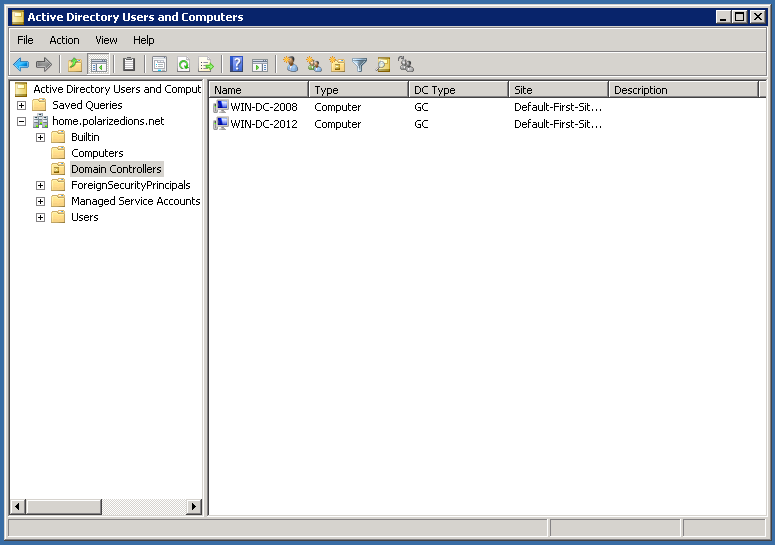
You can verify this was successful by viewing the Domain Controllers in Users and Computers:
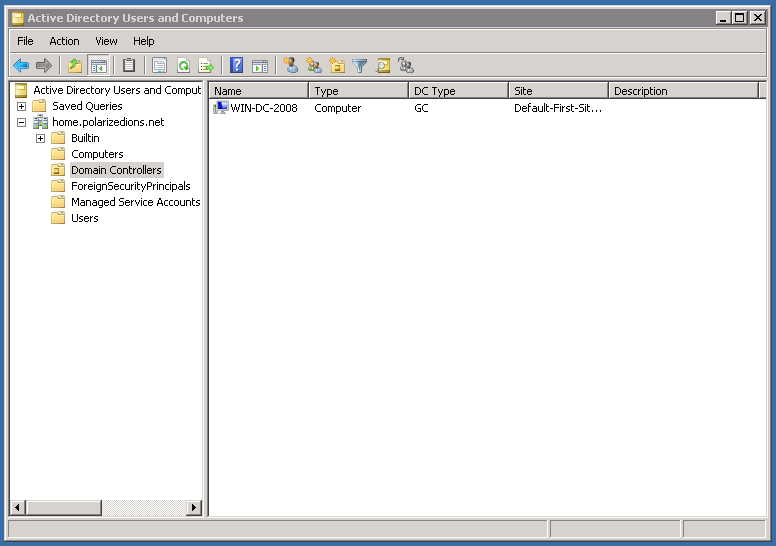
You’ll notice, however, that the samba server is still part of the domain, if you look under the “Computers” tree item. Feel free to hit delete on that entry.
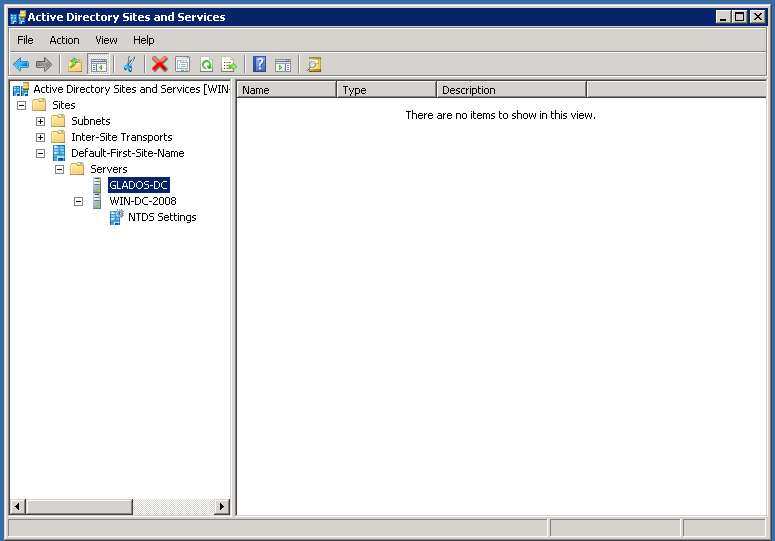
If Samba DC is still listed under Sites and Services, like here, delete the entry, as well as going into win-2008’s NTDS settings and deleting the connection listed there.
At this point, you can shut-down the samba server, remove its entry from the Network settings’s DNS entry, as well as going to the DNS Manager, right-clicking the windows dc, and opening the properties. Then go to the Forwarders tab, and set it to the network’s DNS resolver (I use Cloudflare’s 1.1.1.1 and Google’s 8.8.8.8)
Cleaning up DNS⌗
The samba server would have left quite a bit of DNS entries, from NS (Name Server), to A (IPv4) to CNAME (Alias) and SRV (Service) records. Make sure go through ALL the “folders” (zones) in the DNS Manager on the windows machine, and deleting anything that points to the old name or IP. Feel free to make a backup of the Windows 2008 DC BEFORE and AFTER this point.
At least for me, there was also some cases where there wasn’t a record pointing to the new, windows, server, so make sure to rename the old samba one instead of deleting it!

Setting up Windows 2012⌗
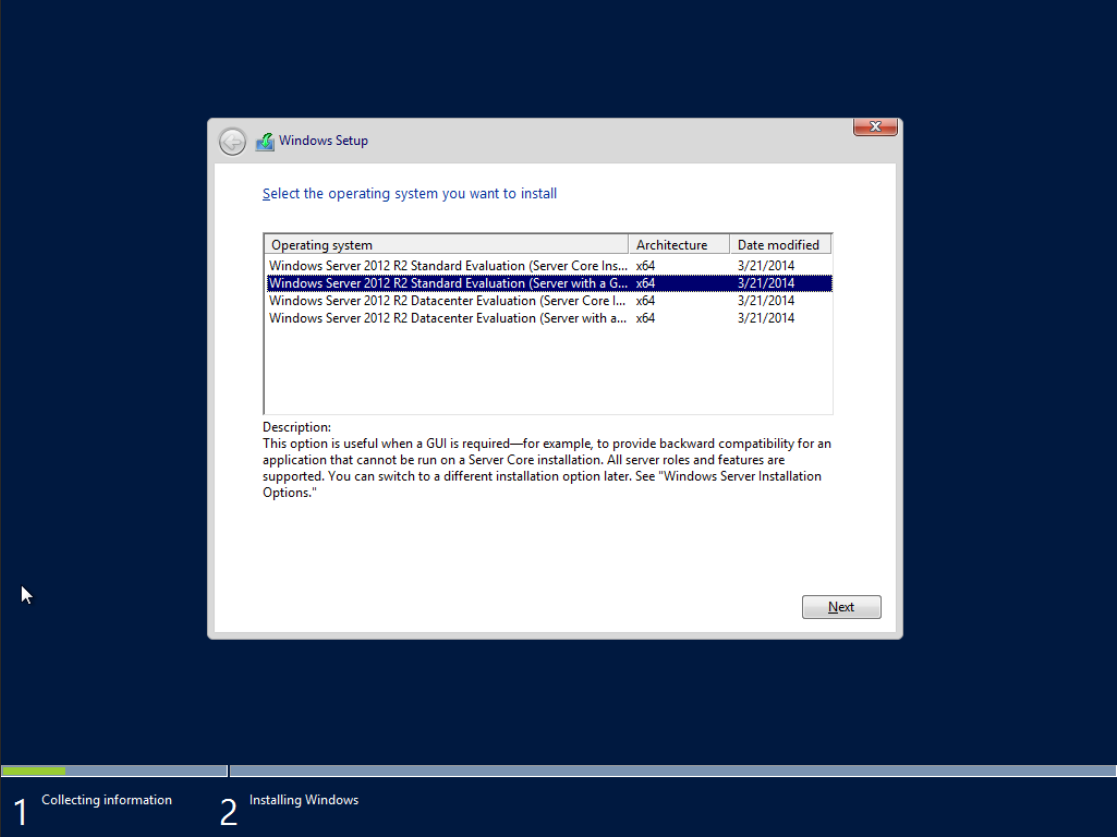
The installation is fairly straight forward, just make sure to select the “with a GUI” option:
Configuring Windows 2012 Server⌗
I am also going to just enable remote-desktop, by right-clicking This PC -> Properties -> Advanced System Settings -> Remote -> Allow… -> OK.


Also, give it a static ip, with the DNS pointing to the win-2008 server, and finally, going back into The PC properties, changing the pc name to something more recognisable (eg. win-dc-2012.) This requires a restart, so let’s do that.
In Server Manager, hit the 2nd step, Add roles and features, and hit next until you reach the Server Roles step. Select Active Directory Domain Services, and hit next until install becomes available. Once that is done, hit Close, and restart.


Click on the Warning Flag in the top right, and then Promote this server to a domain controller

Specify “existing domain”, input the domain you’re joining, and the credentials to join it. NOTE: you may need to prefix your joining credentials with the domain, otherwise it might default to the local machine account. The DSRM password is that strong password you chose when setting up the 2008 server. You can hit next until install becomes available, and then hit that. It should complete within a few minutes. After closing the wizard, the VM will restart.


After the reboot, you can confirm by looking at the domain controllers on windows-2008:
Make sure to also reverse the DNS servers in the network configuration (127.0.0.1 should be first), as well as making sure BOTH are replicating correctly! (repadmin /showrepl).
If for some reason they stop, check out this article for troubleshooting. For me, there were missing SRV records on 2008. Also check the time on both, sometimes they just change timezones after a restart.
I also spent a long time trying to get SYSVOL to replicate. In the end, I just ended up copying the files across (C:\Windows\SYSVOL\domain), setting SysvolReady to 1, and rebooted. Not sure if that’s what I was suppose to do, but it seems to have worked.
Demoting Windows Server 2008⌗
Make sure you have a backup of both windows servers before doing this!
Transfer all the FSMO roles, as per above, skipping the DomainDnsZonesMasterRole & ForestDnsZonesMasterRoles.
To demote the Windows 2008 server, simply run dcpromo in the Run Dialog again, and follow the steps.
If that fails however, like it did for me, you can manually demote it from DC-2012. Shut down DC-2008, and follow the steps found here. Be sure to go though all the DNS entries and remove references to 2008!
You unfortunately cannot do in-place upgrades with evaluation editions, but luckily for us, we can transfer from 2012 to 2022 easily.
Windows 2022⌗
Our last step! Grab the ISO here, and install as per usual, remembering to select the “Desktop Experience”.
Go though the same steps as 2012, allowing remote desktop, setting a static IP and DNS servers, installing AD Server, and finally promoting it to a DC. After the reboot, transfer the FSMO roles.
Again, make sure that the time of the two servers match, they are replicating from eachother, etc.!
Demoting Windows Server 2012⌗
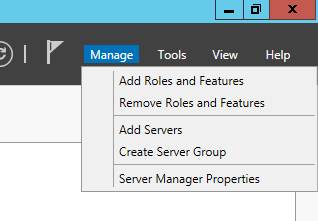
In Service Manager, click on Manage -> Remove Roles and Features.
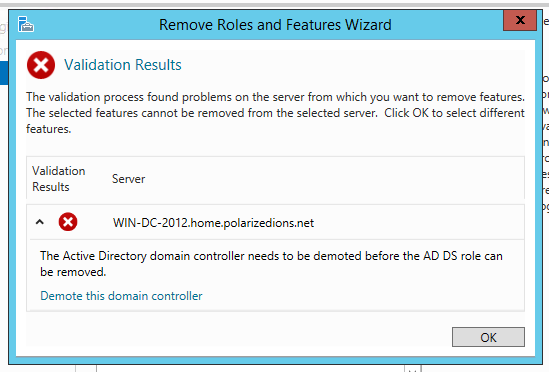
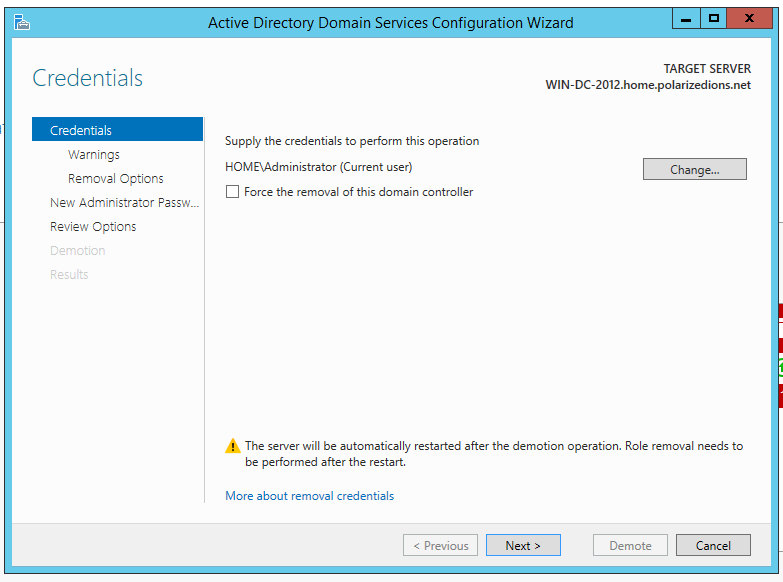
De-select “Active Directory Domain Services” when you get to that step. A popup should appear, saying that you need to demote it first. Click the “Demote this domain controller” link on the bottom.
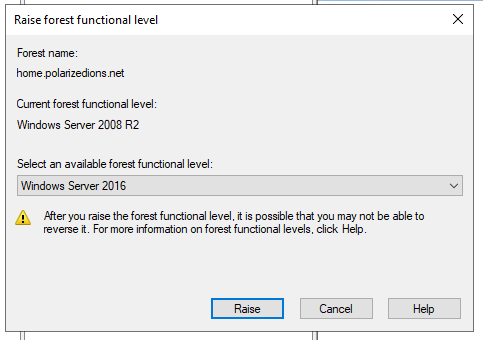
Raising the functional level⌗
Finally, we’re going to raise the level of the domain& forest to 2016 from 2008! (there is no 2022 option.)
Head over to Domains and Trusts, right-click the root option, and select “Raise Forest Functional Level…” and select 2016.
Final words⌗
This has been quite the journey for me, spending countless hours trying to get that initial migration from Samba to Windows Server working. I hope this was just as useful to you!
Helpful links I’ve found:⌗
- https://wiki.samba.org/index.php/Joining_a_Windows_Server_2008_/_2008_R2_DC_to_a_Samba_AD
- https://docs.microsoft.com/en-US/troubleshoot/windows-server/identity/netlogon-share-not-present-after-install-ad-ds-on-full-read-only-domain-controller
- https://docs.microsoft.com/en-us/troubleshoot/windows-server/identity/view-transfer-fsmo-roles
- https://samba.tranquil.it/doc/en/samba_advanced_methods/samba_add_windows_active_directory.html
- https://wiki.samba.org/index.php/Demoting_a_Samba_AD_DC
- https://docs.microsoft.com/en-us/troubleshoot/windows-server/identity/active-directory-replication-event-id-2087