Make your own Weather Display

Let’s begin with why?⌗
So why do you need one? Well, you don’t! It’s a fun project, both techy-programming, and real-life-building. I personally did it because I saw something similar on YouTube, and wanted to recreate it for myself. It’s not the most practical way to tell the weather, we have our phones for that, but it is the most cool one I have!
So how did you do it?⌗
The problem is split into two solutions:
- A web server that generates an image to display
- A “dumb” client that displays it
This gives me the advantage that I can update/change what gets displayed, without too much hassle, as well as develop it without having to test it on the display itself.
What did you use?⌗
Okay so, what did I actually use to make this?
I made the physical device out of:
- A WaveShare 7.5 inch e-ink display
- Connected to a Raspberry Pi Zero W
- In a wood case I got my dad to make
And the server software is Flask (python3) based, using Pillow (Python Imaging Library) to generate the image.
You can view the source code for the server side on GitHub, but I’ll be going though parts of it here.
I’ve also set up a docker-image for it, with GitHub actions auto-building it, because my server is entirely docker based, but that part is optional.
So let’s get into code!
Weather2png⌗
Fun name, right? It’s what I decided to call the project that takes the weather for a specific location, and spits out an image.
The basics⌗
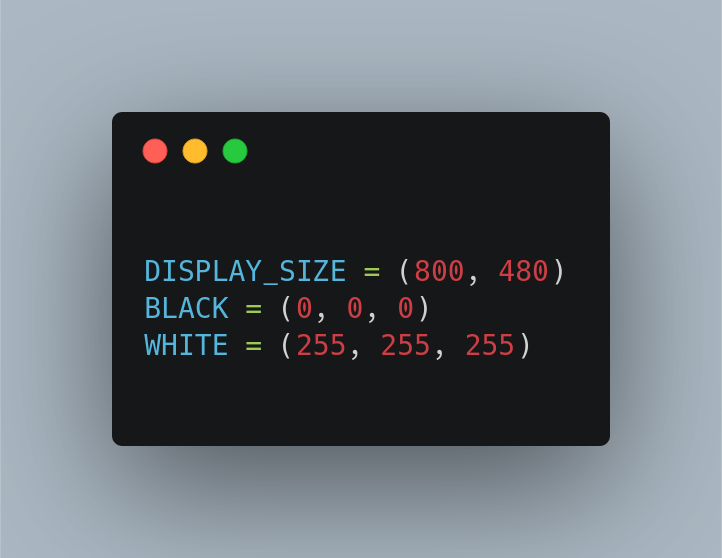
The first thing you want to know, is your display size! Because, as I have found out, if the image doesn’t match the display resolution, nothing will display. I have the V2 version of the display, so that means it’s 800x480.
Next up, colours. My display is a two-colour display, so that means it can only display black or white. Nothing in-between. Some displays can have a yellow or red as well, so check before you program which colours your display supports. If you don’t use a e-ink display you don’t have to worry about this obviously.
Why an e-ink display anyway? Because coolness-factor! Even though a normal LCD/LED screen would probably have worked a lot better, I decided to use an e-ink, as it’s a pretty cool technology. Physical droplets of ink, suspended somehow on one or the other side of the display to make it work. A third colour makes it even more cool! The display is also pretty crisp. The only downside, is its refresh-rate, which is in the 3-6 seconds range!
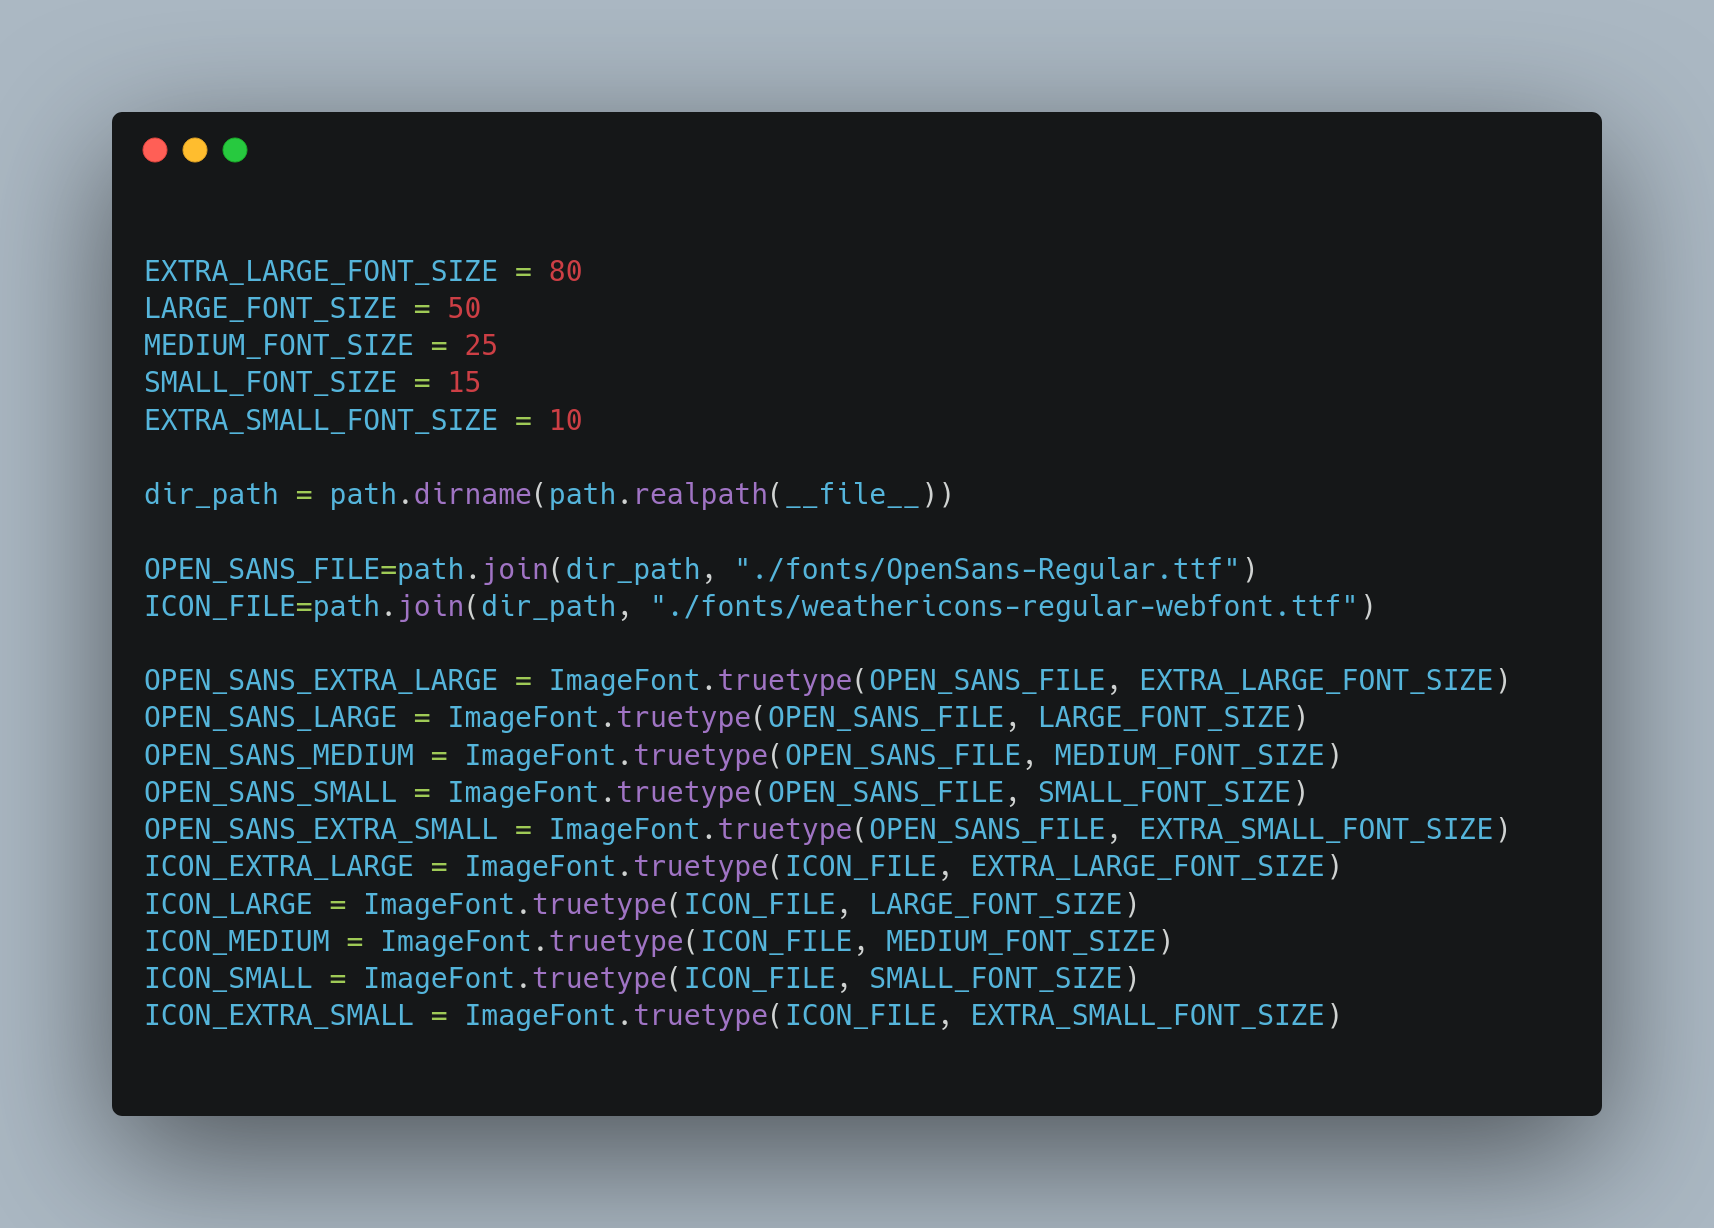
Fonts⌗
We want to display text right? So that means fonts. For this project, I decided on Open Sans and for the weather icons, Weather Icons. The reason I went for a font for the icons/images, is because it scales much better when rendering the image.
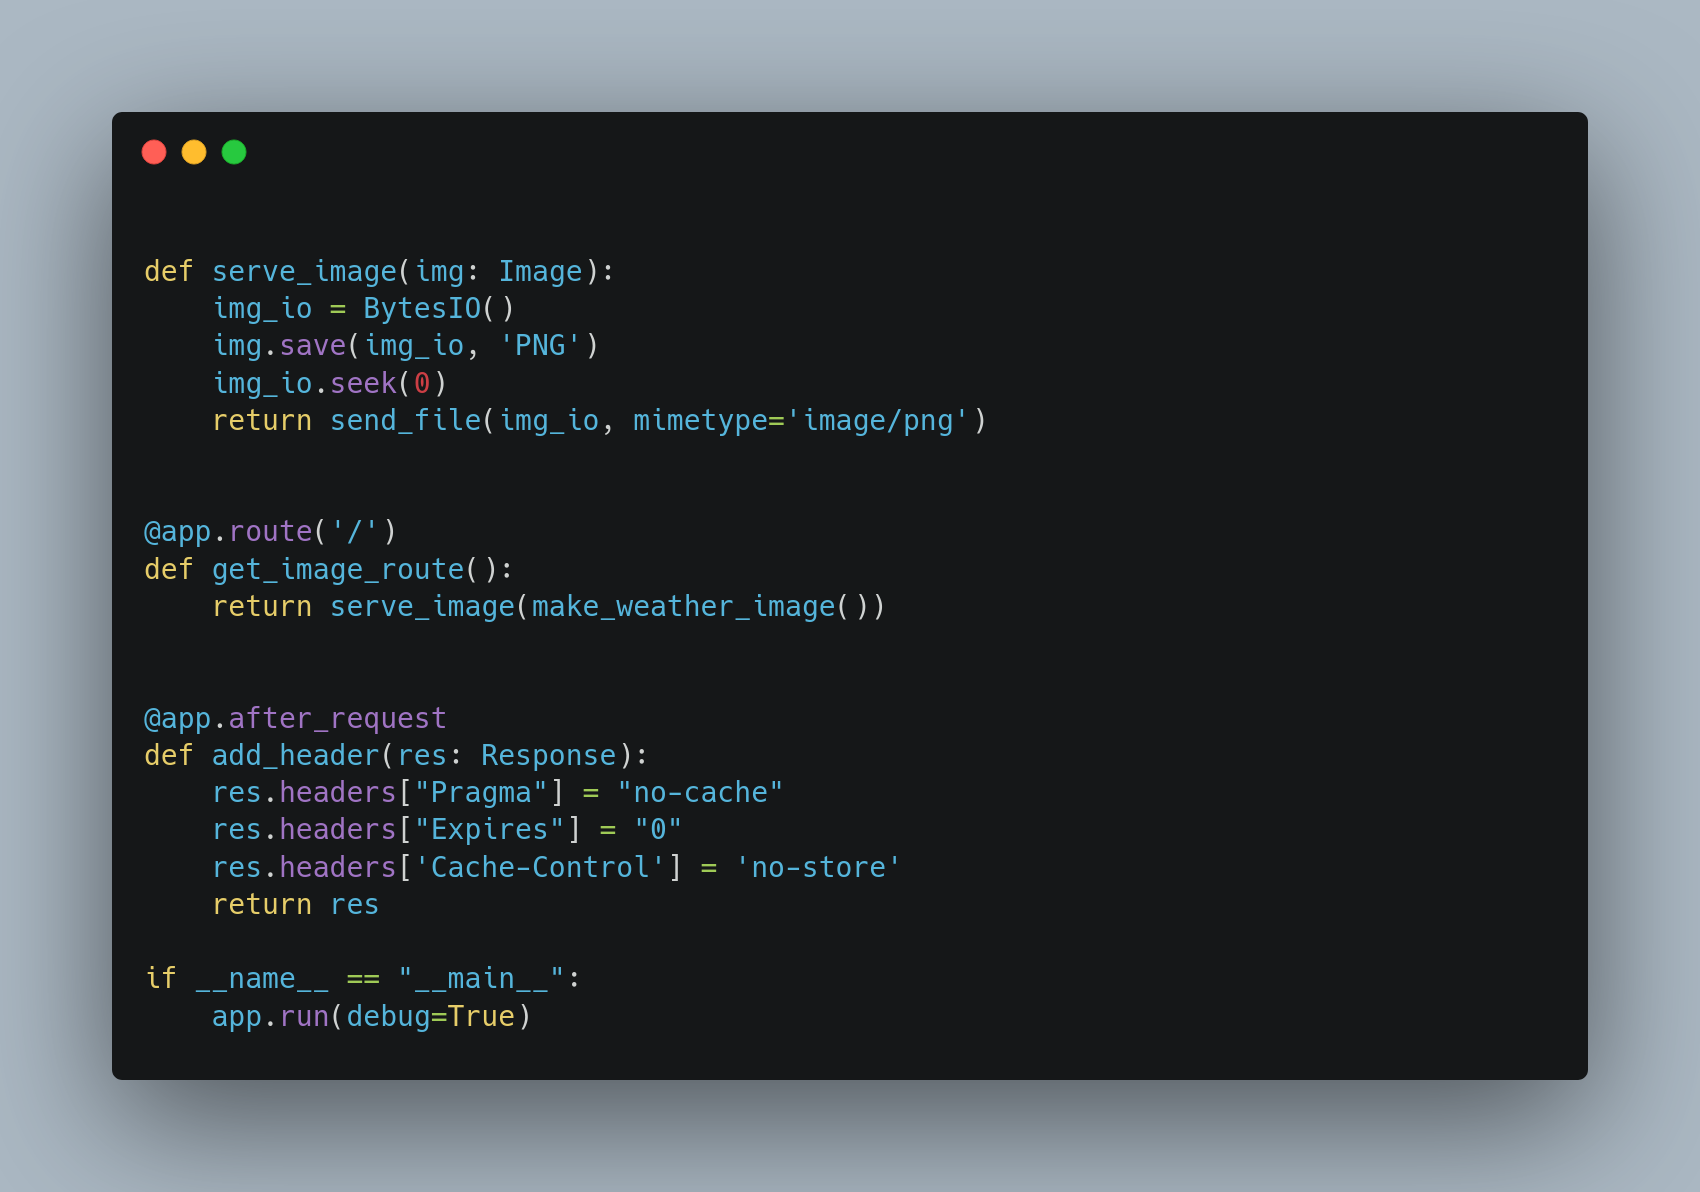
Rendering our image⌗
With some helper methods in place, drawing our image is pretty simple.
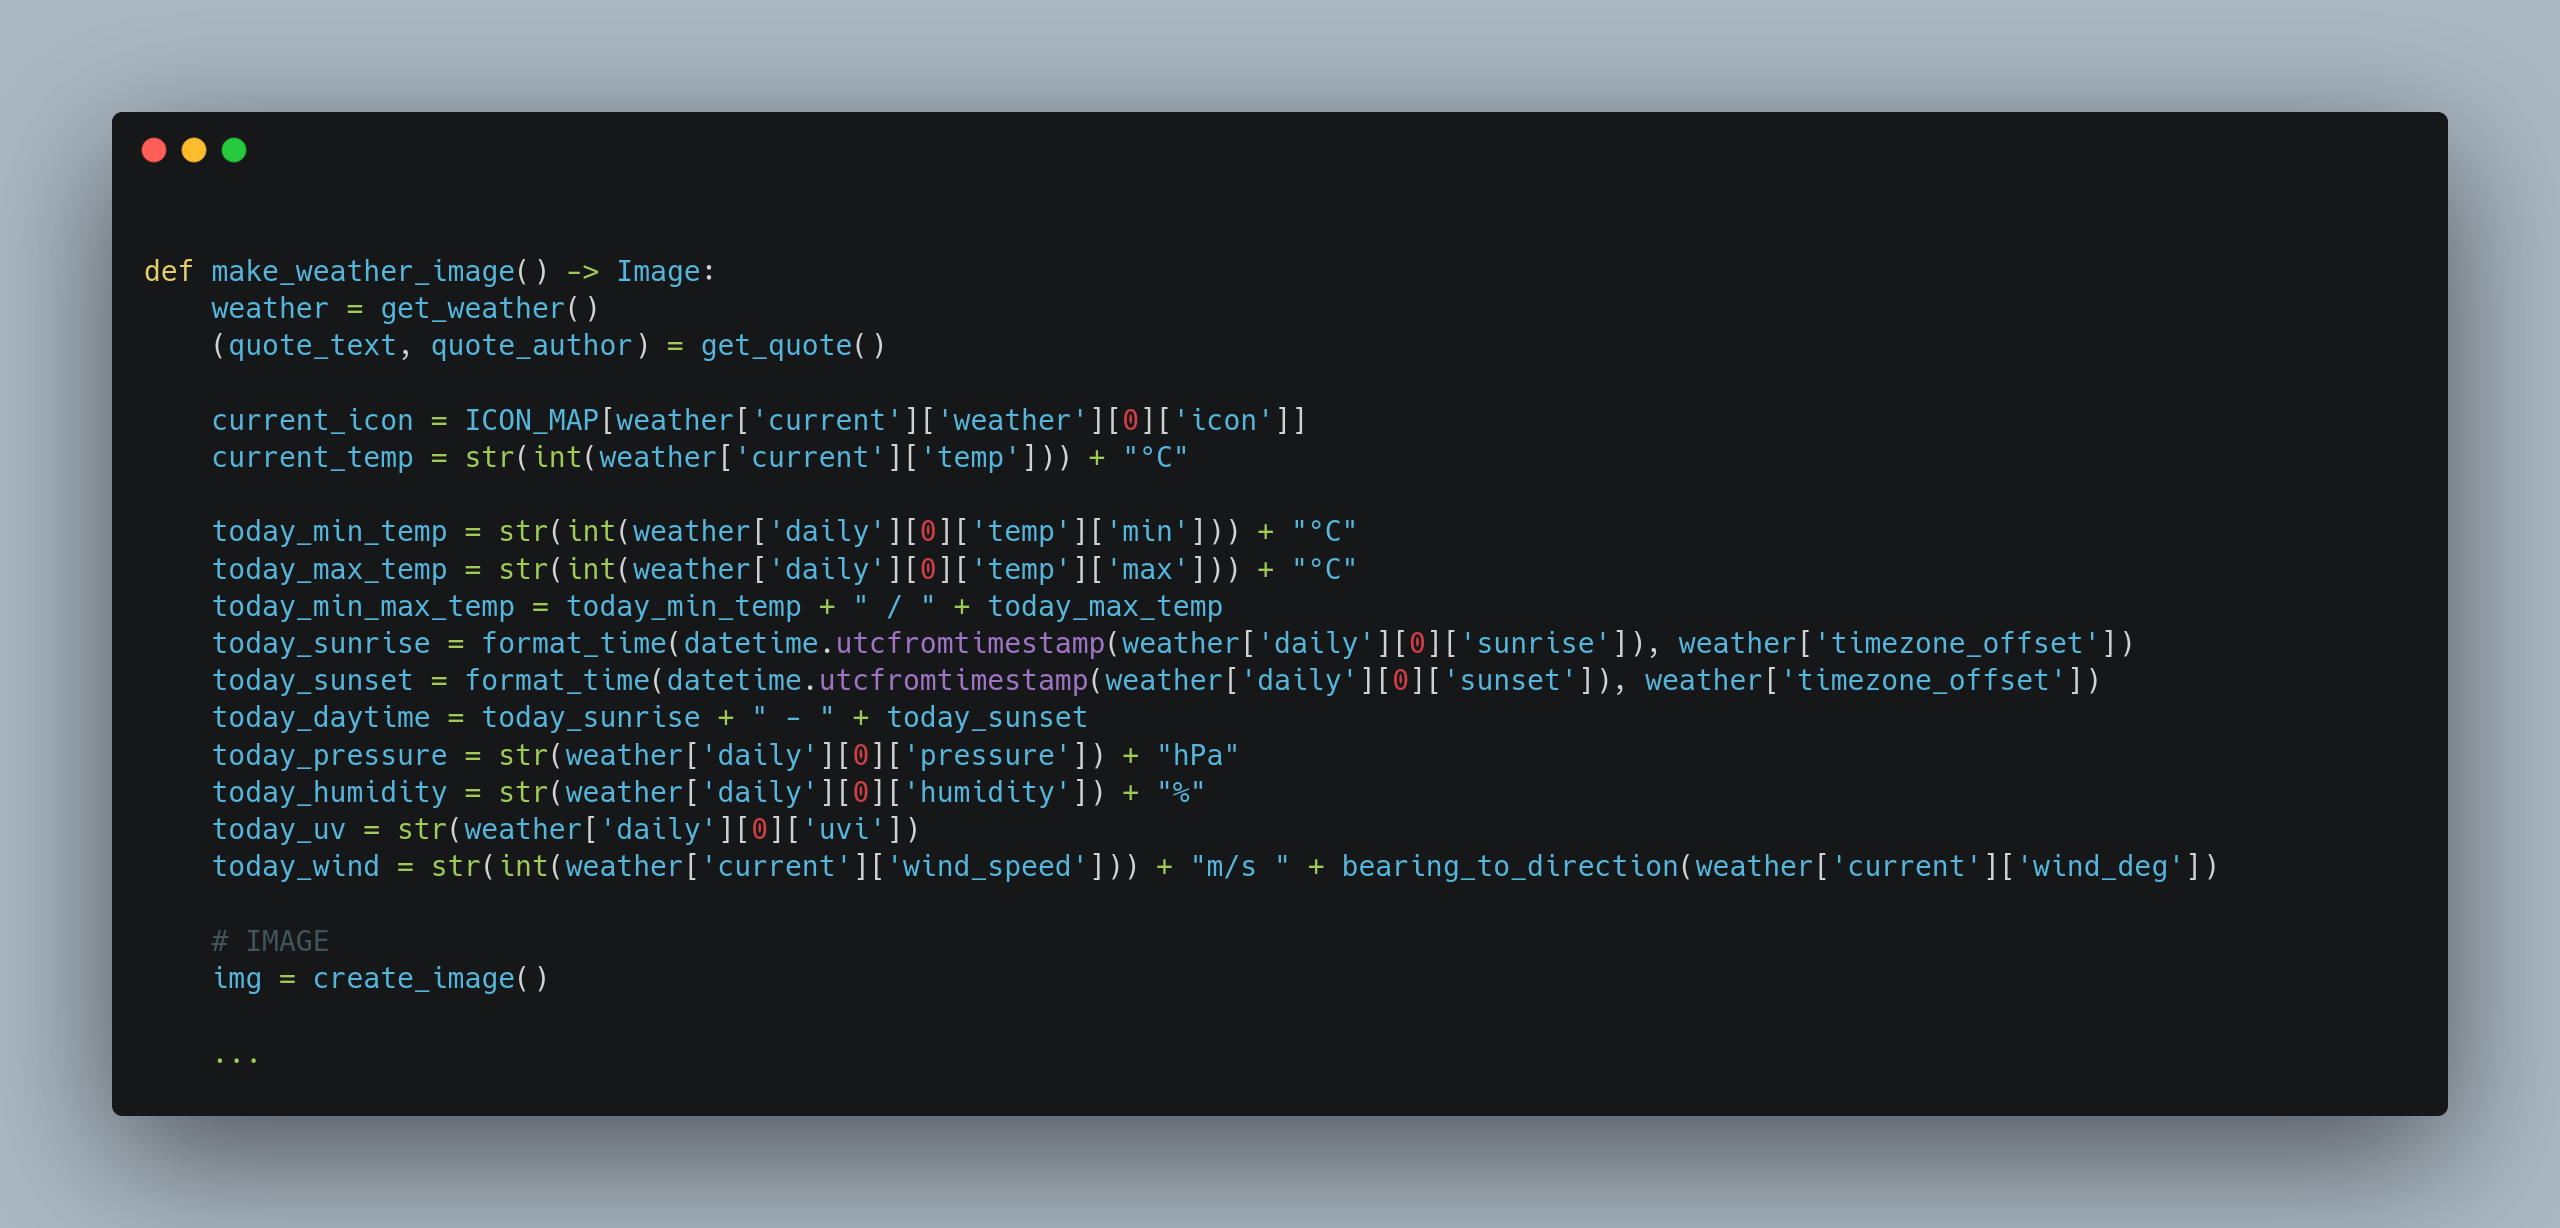
We get the weather data from the lovely OpenWeatherMap, using their One Call API, which takes in coordinates, and gives us current weather & forecast for the next few days. The only downside is we need three environment variables, one for the API key, one for the coordinates, and one for the display name, because they don’t give back location name data.
We also fetch the Quote of the Day from TheySaidSo (API Page).
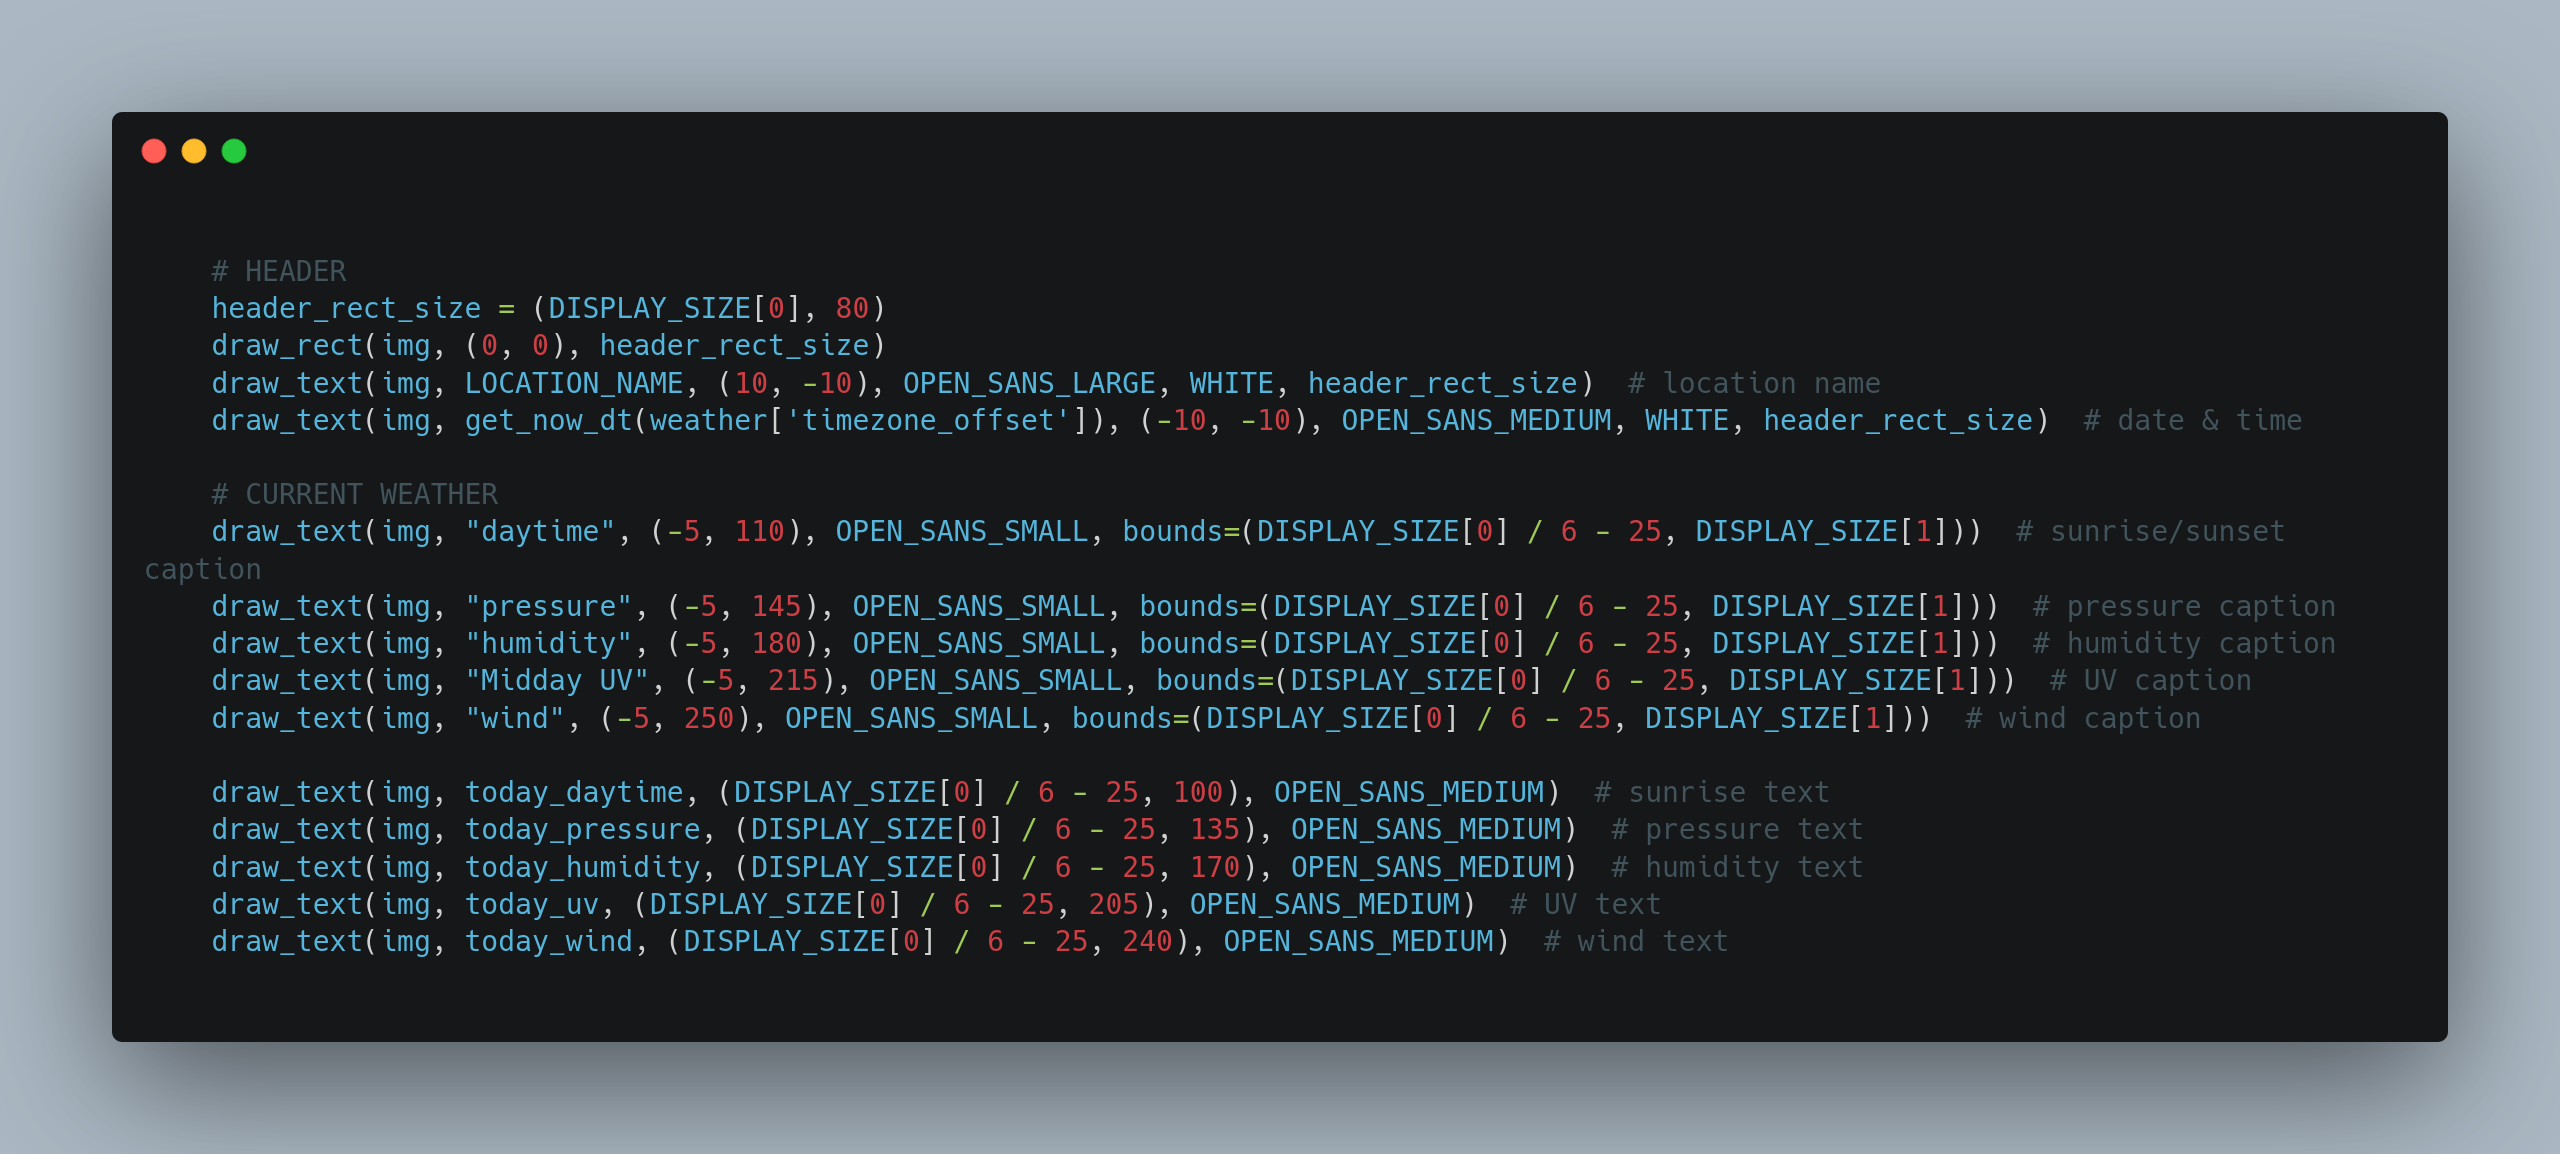
This goes on for some time. As you can see, it’s a lot of playing around with coordinates, until things just look right. Luckily, we have flask setup in debug mode, so any changes to the file, will reload the process.
Some content has been left out for brevity, but you can view the entire source-code here.
The Raspberry Pi⌗
So now we have a server that’ll spit out PNGs, but how do we display them? For that, we turn to the official WaveShare docs on GitHub. There’s two versions, one for python, and one for C. We’ll stick to python for this.
I’m assuming that you’ve already setup your pi, and can connect to it.
We need to install the following packages, note the spidev package. The docs don’t say to install it, but we need it.

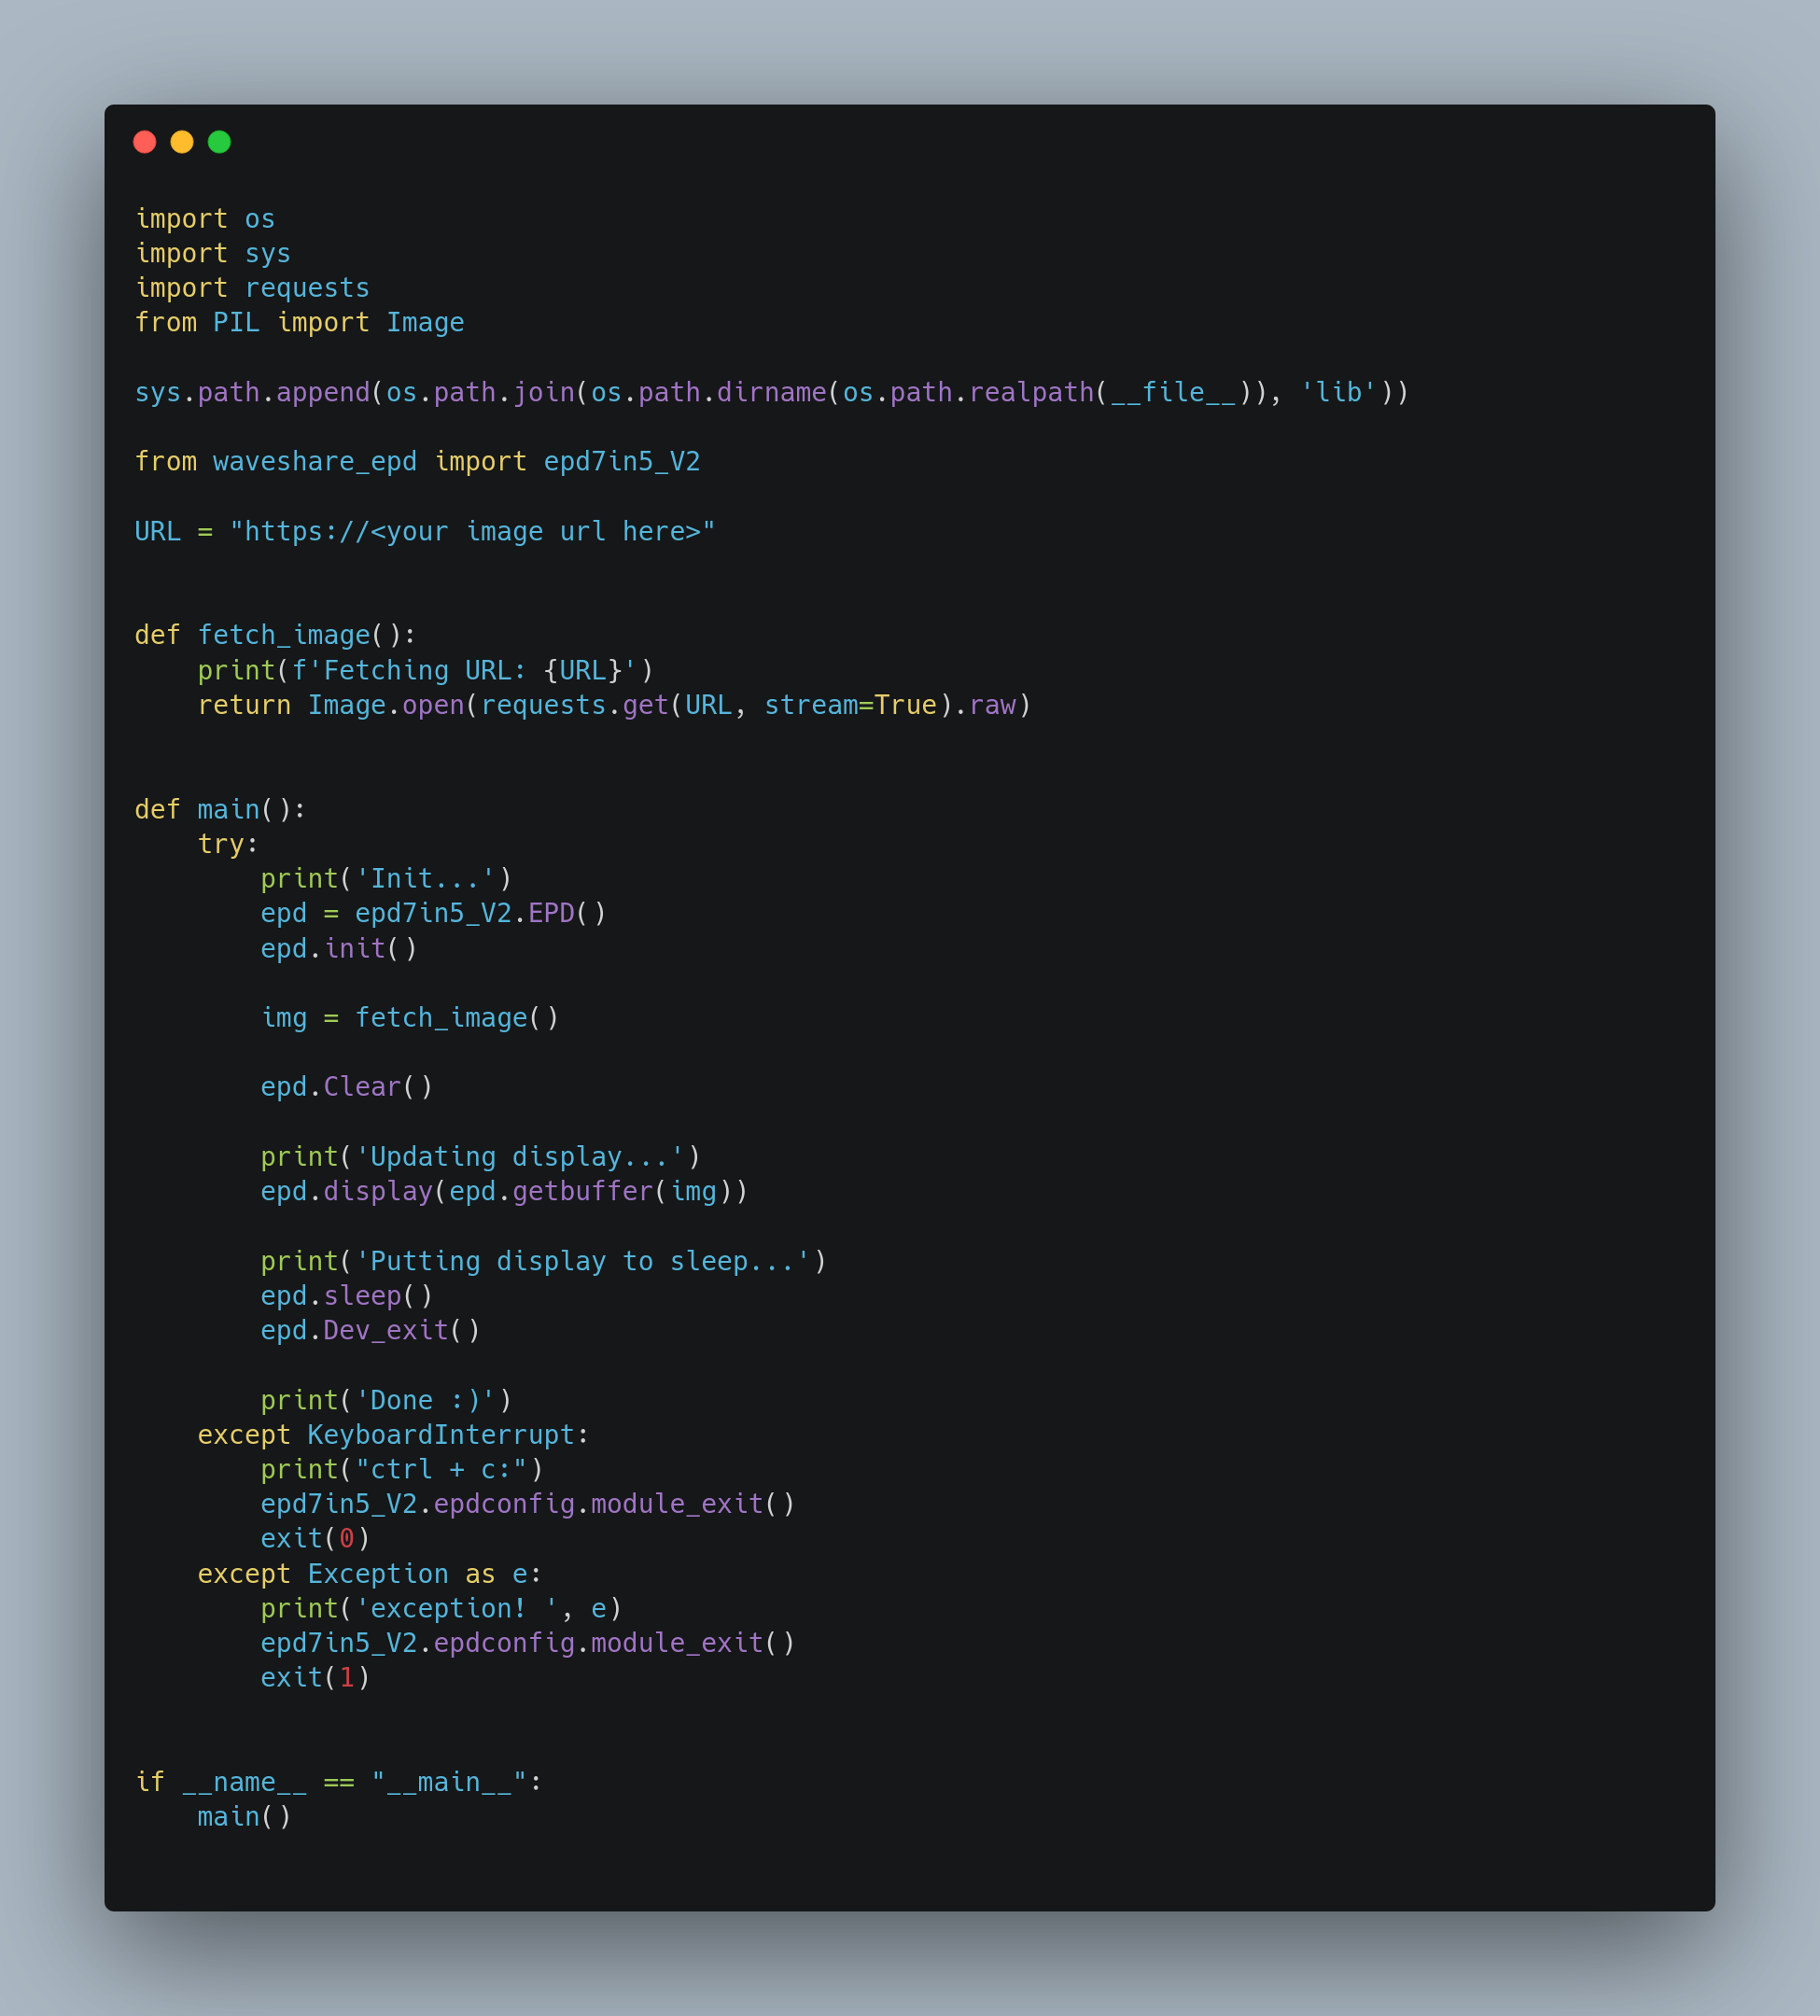
Next, we need to copy the files to interact with our display, under a lib folder. In my case, that’s lib/waveshare_epd, the epd7in5_V2.py, epdconfig.py, sysfs_gpio.so, sysfs_software_spi.so, and the __init__.py file.
On to our “Weather Updator” as I call it. Pretty simple stuff.
“But hang on…”, I hear you say, “how do we trigger this?”.
Great question, the answer: systemd!
SystemD has timers built in, and can trigger a one-shot service, in this case, our python script.
Make /etc/systemd/system/weather-updator.service with the following content:
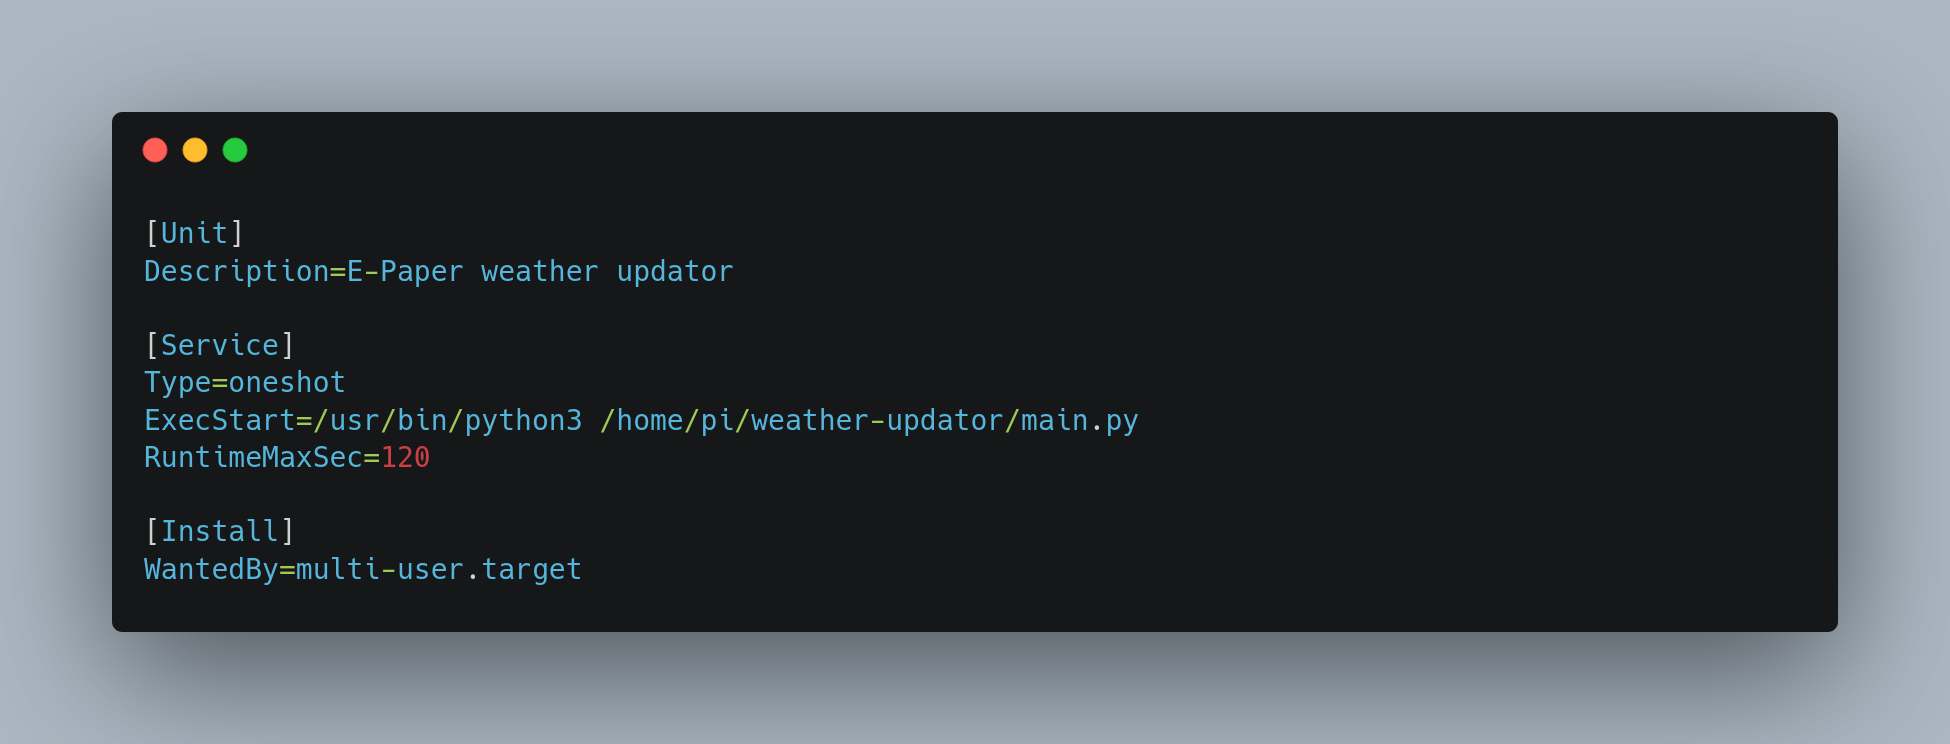
The RuntimeMaxSec I’ve found is needed, because the script will sometimes, randomly, hang for a couple of minutes.
Next, let’s create the timer, /etc/systemd/system/weather-updator.timer:
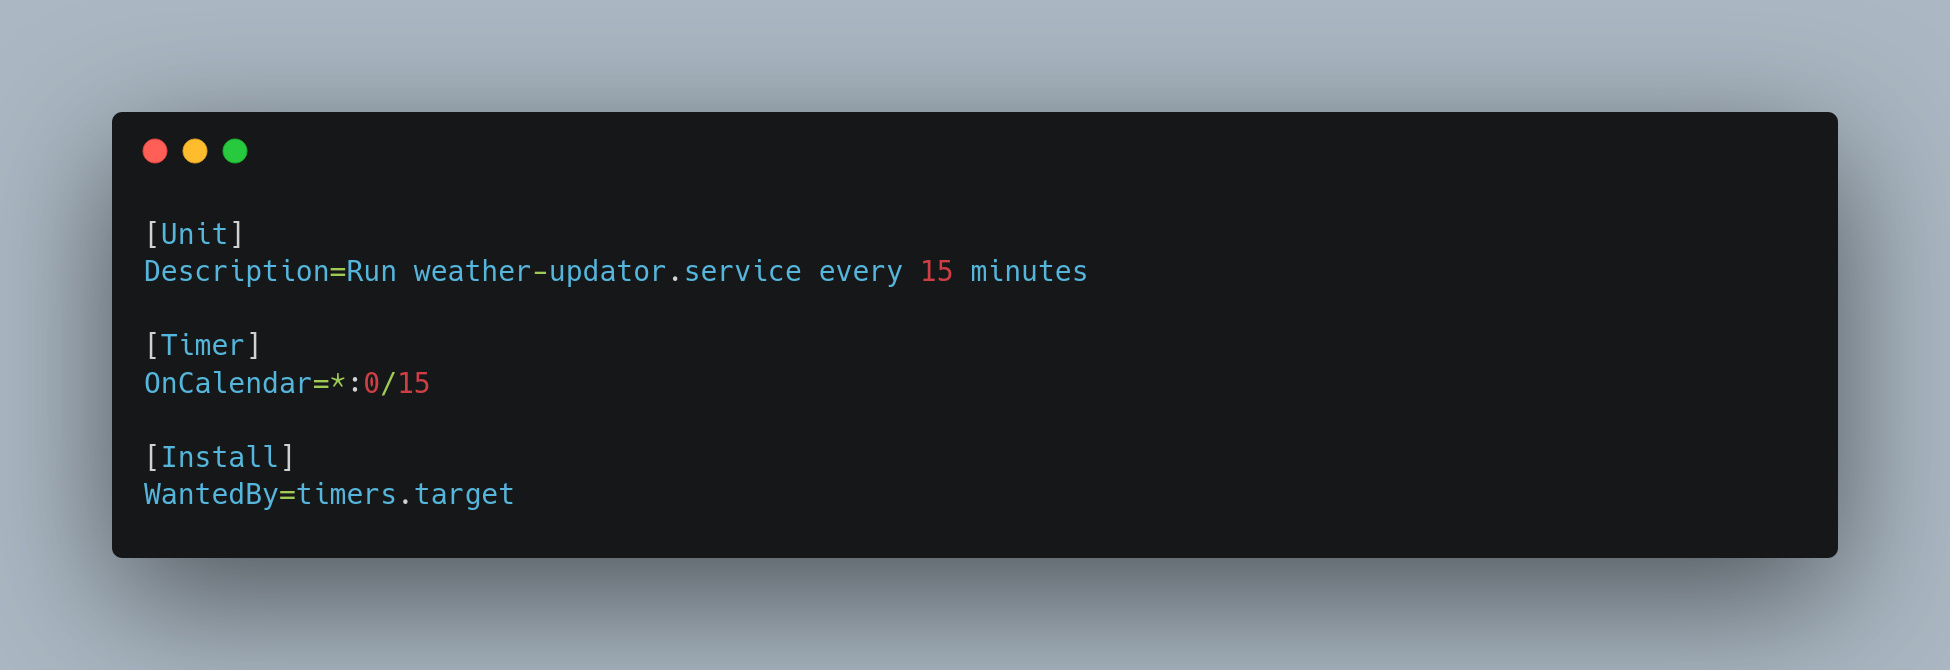
This timer file will cause the service of the same name, to execute in 15 minute intervals (on 00/15/30/45 minutes). For more types of values, you can check the table on this wonderful article.
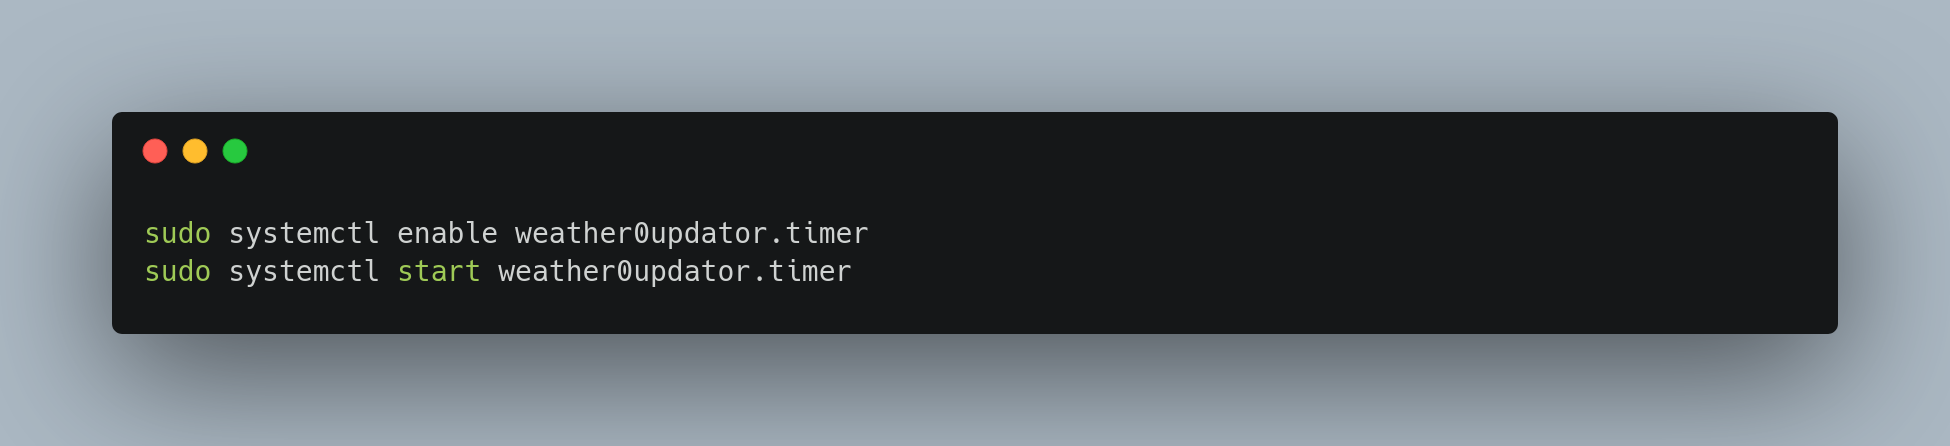
Don’t forget to enable and start the timer:
Wrapping up⌗
Let’s review:
- We created a web-service that creates a pretty image from the current weather, forecast, and a Quote of the Day.
- We deployed an “updater” script to our pi to update the e-ink display with that image
- We set a systemd timer to run that “updater” every 15 minutes.